How to Plant Lavender in Poor, Sandy Soil: A Step-by-Step Guide
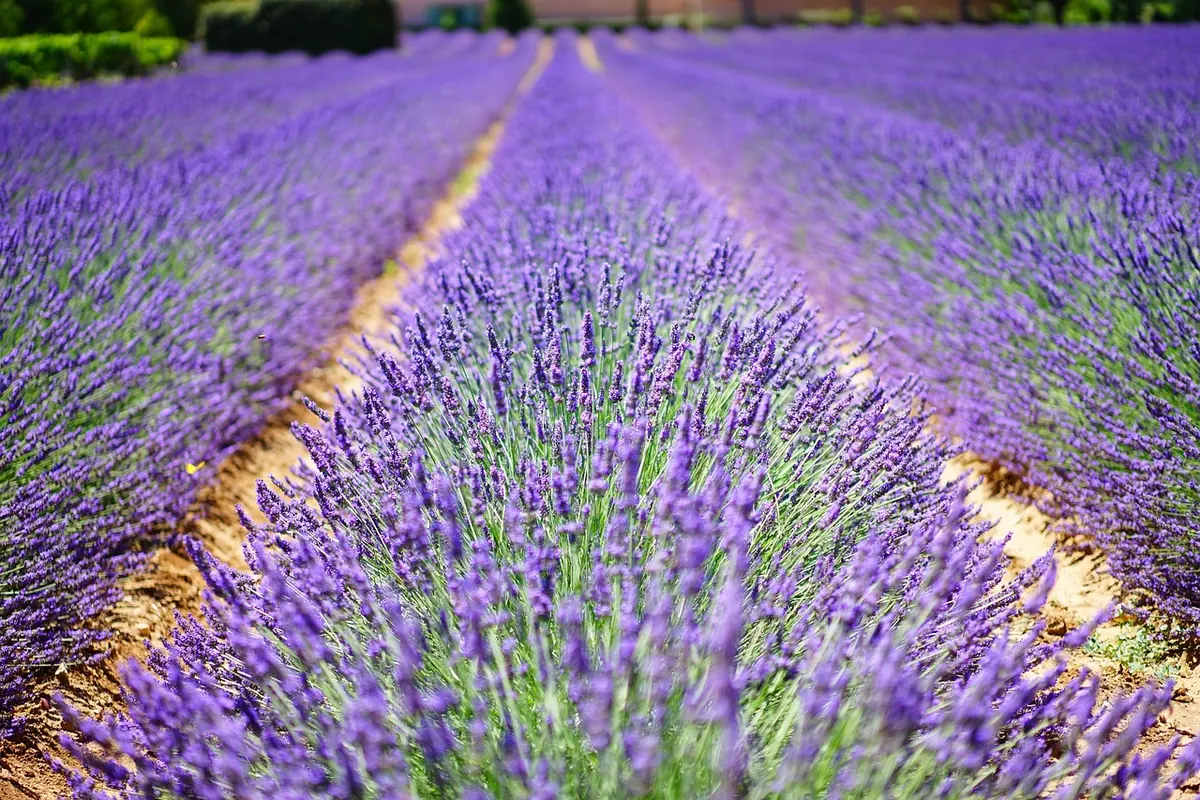
Sandy soil is usually described as a problem. For lavender it is closer to a gift. This is a plant that spends its life on dry, stony hillsides in the Mediterranean, rooting into ground that drains within minutes of a rainstorm and offers very little in the way of richness. If your border is light, gritty and quick to dry, you already have most of what lavender wants. The rest is small decisions made carefully at planting time — where you put it, how deep, how far apart — because lavender is easy to grow well and surprisingly easy to kill with kindness.
Why Lavender Prefers Lean, Gritty Ground
The main reason lavender fails in gardens is not cold and not drought. It is wet roots in winter. Sitting in soggy soil for weeks, especially through the dormant months, rots the crown and the base of the stems, and by spring you are looking at a grey, hollowed-out plant that never recovers. Sandy soil removes that risk almost entirely, because water moves through it instead of pooling around the roots.
The second reason is nutrients. Rich soil, fresh compost, a handful of general fertiliser — these push lavender into soft, floppy growth with long gaps between leaves and less of the aromatic oil that makes the plant worth growing. Lean ground produces compact, woody, heavily scented bushes. So resist the urge to "improve" your sand with manure or bags of compost. The poverty of the soil is part of the point.
There are limits, though. Pure sand dries so fast that a newly planted lavender can struggle to establish, and if your sand sits over a compacted layer or clay pan, water will still perch above it. Both are fixable, and neither changes the basic plan.
Choosing the Right Spot
Full sun, six hours at minimum and more if you can get it. Lavender in shade grows thin and leggy, flowers poorly and stays damp for longer after rain. A south- or west-facing border is ideal. A gentle slope is even better than a flat bed, because gravity does half the drainage work for you.
Air movement matters as much as sun. An open position where breezes pass through the foliage dries the leaves quickly and discourages the fungal problems that lavender is prone to in humid weather. Avoid the sheltered corner behind a shed, and avoid the low point at the bottom of the garden where cold air collects in winter.
Two practical warnings. First, keep lavender away from any automatic irrigation that runs through the summer — a sprinkler zone designed for roses or hydrangeas will drown it. Second, leave enough distance from walls and fences that the plant is not in permanent shadow; a rain shadow is fine, a light shadow is not.
Improving Drainage Without Enriching the Soil
If your soil is already open sand or fine grit, you need very little preparation. Fork over the planting area to a spade's depth, break up any compacted patches, and mix a couple of centimetres of coarse horticultural grit into the top ten centimetres. That is enough to keep the surface open and stop it capping after heavy rain.
If the sand is shallow and sits on clay or a hard pan, plant on a mound instead. Heap up a mix of your own soil and grit so each plant sits ten to fifteen centimetres above the surrounding ground, then let the mound slope away in all directions. Water runs off rather than sitting. A raised bed does the same job on a larger scale.
Use grit of roughly five to ten millimetres — washed gravel, horticultural grit or coarse chick grit all work. Avoid builder's sand and fine silver sand for this purpose; they fill the air pockets between particles and can set almost like concrete, which is the opposite of what you want.
Spacing That Lasts
Lavender is often planted too close, usually because new plants look small and the border looks empty. Three years later the bushes are pressed together, air cannot move through them, and the centres go bare and woody. Work from the mature spread rather than the pot size in front of you.
- English lavender (Lavandula angustifolia, including 'Hidcote' and 'Munstead'): about 45–60 cm apart.
- Lavandins (Lavandula × intermedia, such as 'Grosso'): 75–90 cm apart, as these grow into large, wide shrubs.
- Dwarf cultivars: 30–40 cm apart, useful at the front of a border or in a pot.
- Low hedges: set plants a little closer than the figures above, but not so close that foliage touches within the first season.
Group them in odd numbers where the design allows, and stagger a second row rather than lining plants up like soldiers if the bed is deep. For a hedge, a single straight row with a string line is quicker and looks sharper.
Planting Depth and Technique
Plant in spring once the soil has warmed, or in early autumn where winters are mild and drainage is genuinely good — the roots then have time to settle before the cold. Autumn planting in a wet, cold climate is riskier, so wait for spring.
- Water the pot thoroughly an hour before planting, so the rootball holds together.
- Dig a hole roughly twice as wide as the pot but no deeper than the rootball, plus a couple of centimetres.
- Rough the sides and base of the hole with a fork. A smooth, glazed hole in sandy soil sheds roots rather than accepting them.
- Put a small handful of grit in the base and firm it into a slight mound, so the roots sit on drainage rather than in a sump.
- Set the plant in so the top of the rootball sits level with the surrounding soil — or a centimetre or two above it on heavier ground. The crown, where stems meet roots, must stay clear of the surface.
- Backfill with the excavated soil mixed with a little grit. No compost in the hole, no fertiliser, no mycorrhizal additives you are unsure about.
- Firm gently with your fingertips, not your heel. You want contact, not compression.
- Water in well and slowly, even in sandy soil — the point is to settle the soil around the roots, not to soak the bed.
- Spread a two- to three-centimetre layer of gravel around the plant, keeping it clear of the crown by a few centimetres.
If the roots are circling tightly in the pot, tease the outer ones loose with your fingers before planting. Beyond that, leave the rootball alone — lavender resents disturbance and settles faster if it is not fussed over.
Watering, Mulching and the First Year
Newly planted lavender needs water while its roots reach out into the surrounding soil, and sandy ground dries quickly in the first weeks. Water deeply at the base every two or three days in hot weather for the first fortnight, then weekly for the rest of the first summer. After that, rainfall is usually enough, with a soak only during prolonged dry spells.
Always water at the base, in the morning, and let the surface dry between waterings — a pattern that encourages roots downward rather than sideways. Gravel mulch helps here, holding a little moisture at root level while keeping the collar of the plant dry. Bark and leaf mould do the opposite; they hold damp against the stems and are best kept away from lavender altogether.
Skip the fertiliser entirely. The only annual attention needed is a light trim after flowering, taking off the spent flower stems and the top few centimetres of soft growth, never cutting back into the old bare wood.
A Short Checklist Before You Plant
Sun for most of the day, open air on all sides, and a slope or mound if water ever stands in the spot. Grit worked into the top layer, not compost. Mature spread measured with a tape, not guessed. The crown left above the soil line. Water in, gravel on, hands off. Get those five things right and lavender in sandy soil is one of the least demanding plants in the garden — it will reward you with scent from June, flowers for the bees, and a bush that improves in shape for years rather than sulking through its first winter.
Photo: Hans / Pixabay